Simphony VAT Change Configuration
PURPOSE
The purpose of this document is to provide guidance on the process to update the VAT tax rate within EMC.
Preparation
You can prepare for a VAT rate change prior to its “go live”. You will need enterprise level access to implement the below changes.
It is recommended that the naming convention changes from VAT 15% to only VAT.
Setting the Effectivity
Sign in to EMC, select the enterprise hierarchy level on the left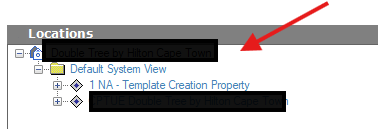
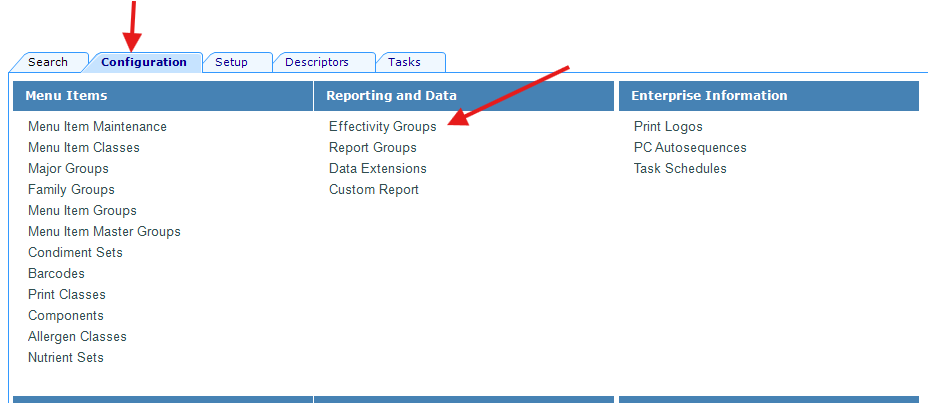
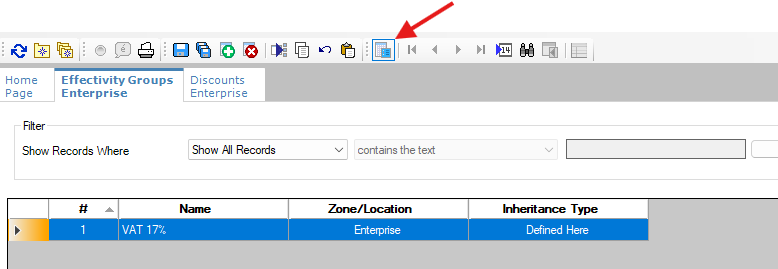
Select the Configuration tab then select Effectivity Groups
This will open the effectivity groups page. You will need to add a new entry, press the plus sign
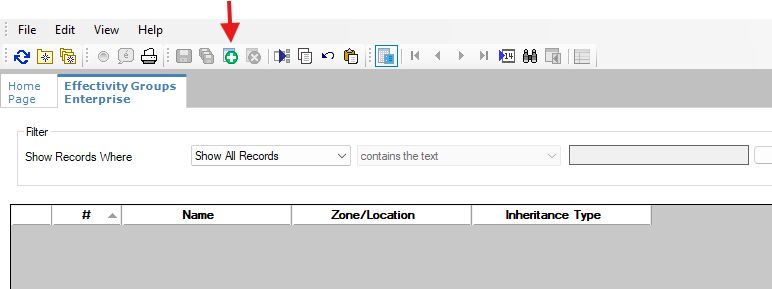
You will see the below
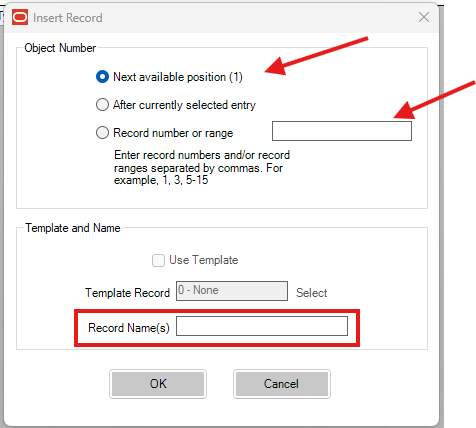
You have the option to specify the number range or use the next available position.
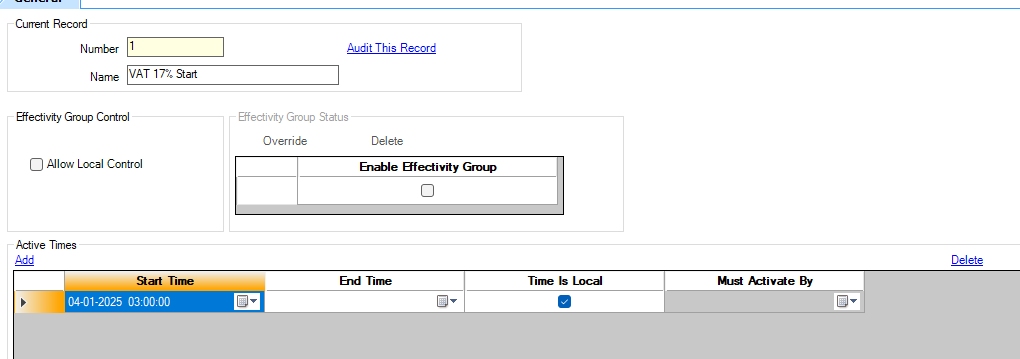
In the Record name you can specify the effectivity for example:
“VAT increase” or VAT 17% Start
Then click on OK
You will see the new entry, now click on the below icon to change the view
You will see the below
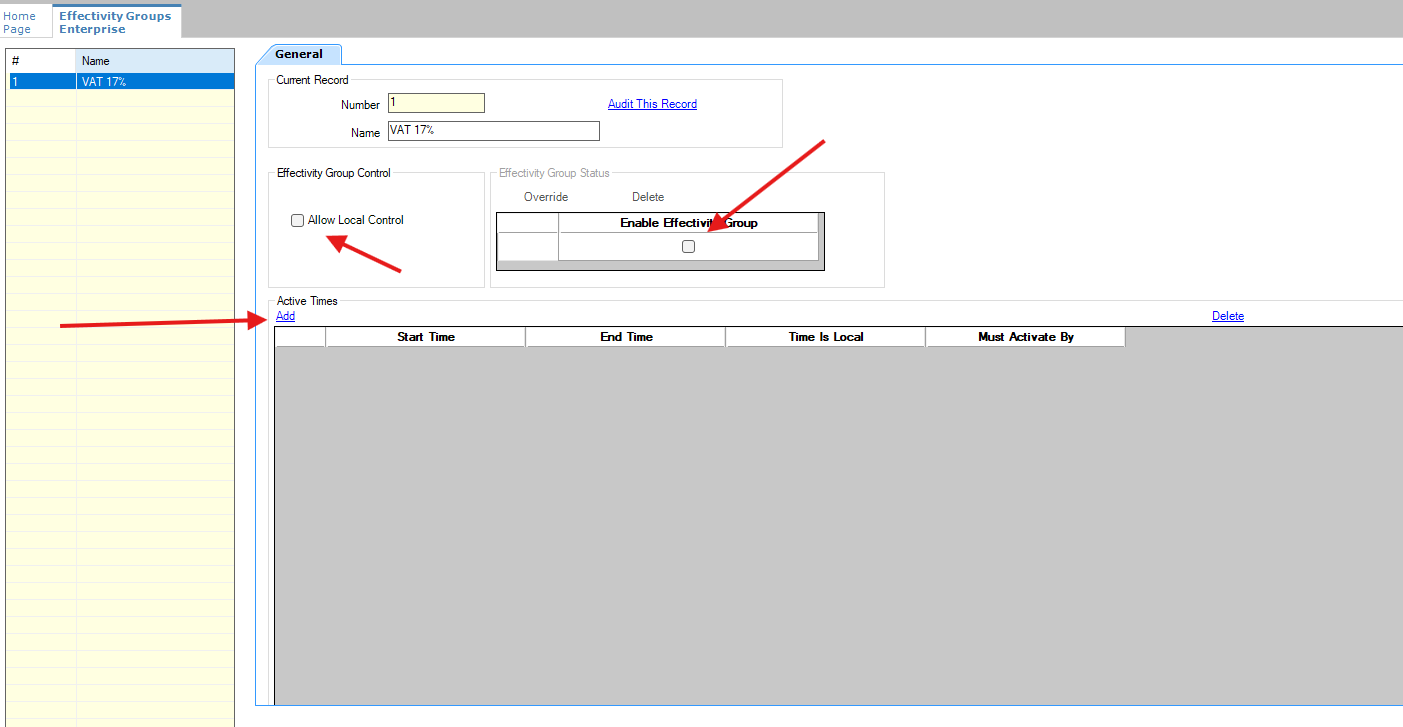
Click on “allow local control” and ensure the enable effectivity group is ticked.
Then click on Add
You will need to specify the start time
*the time would need to be set after the End of Day time*
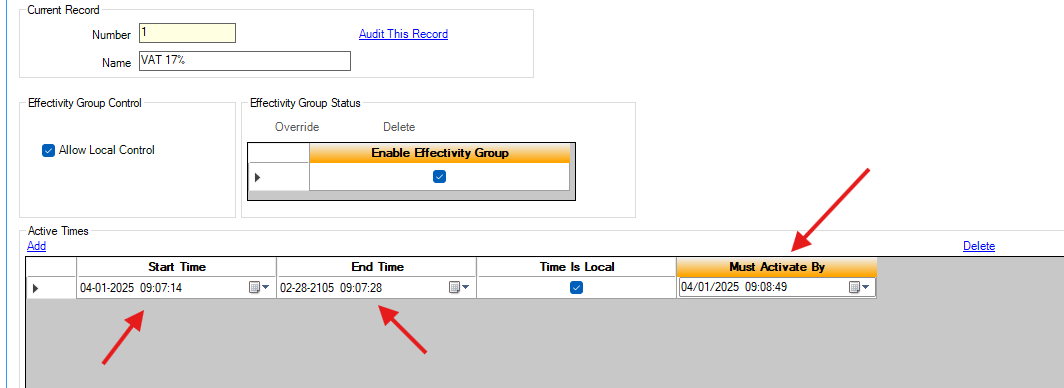
Click on Save
Once saved you can follow the same steps above to create a second effectivity called VAT 15% End and specific an End date.
You should see something like the below

Creating the TAX Rate and assigning the effectivity
In EMC select the enterprise level then click on the Setup tab, now select the Tax Rate
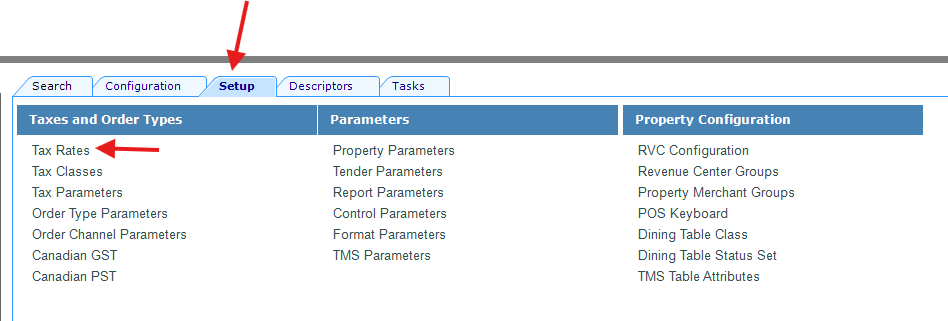
You should see the current VAT entry. The below will differ from Enterprise to Enterprise.
On the next available line you will specify the VAT ( VAT 17% for example ) then select the “included percentage” option from the type dropdown.
Under the percentage column enter the percentage value
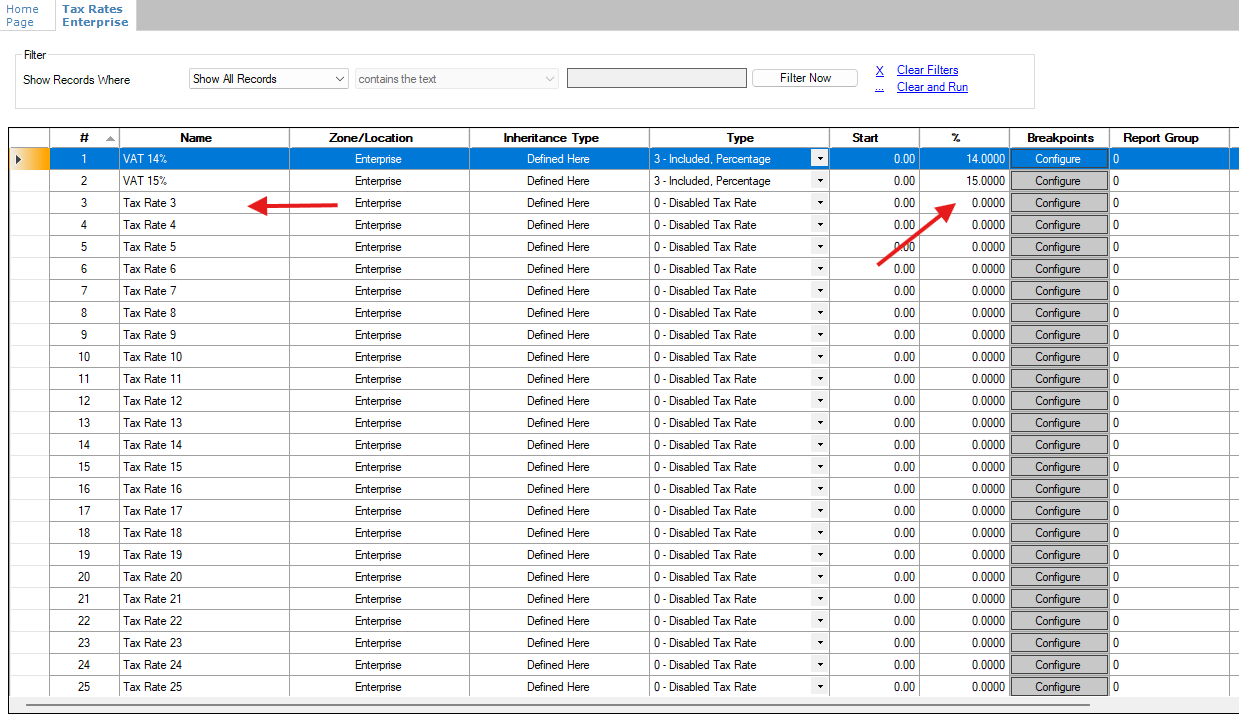
Once the above information has been entered, scroll to the right of the table
Click the […] on the effectivity group for the current vat rate and select the VAT 15% end option from the popup, do the same for the new rate but select VAT 17% Start from the popup

You will notice the start and end dates populate automatically. Click save
Setting the Tax Class
Once the above is in place you will need to enable the new tax rate. Click on Setup and select tax class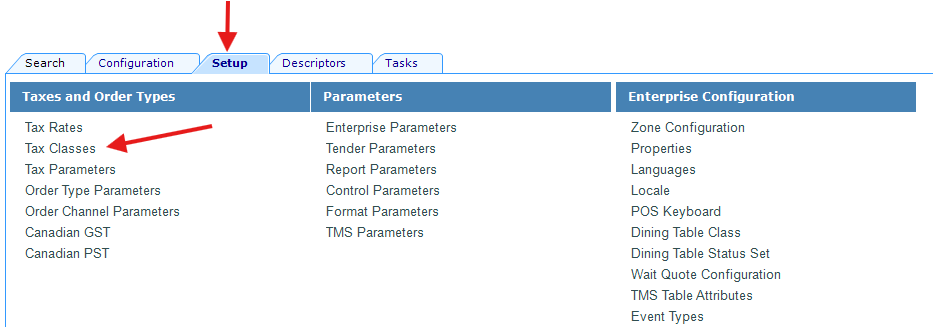
On the next page click on the form view button to change the view

You will see the below
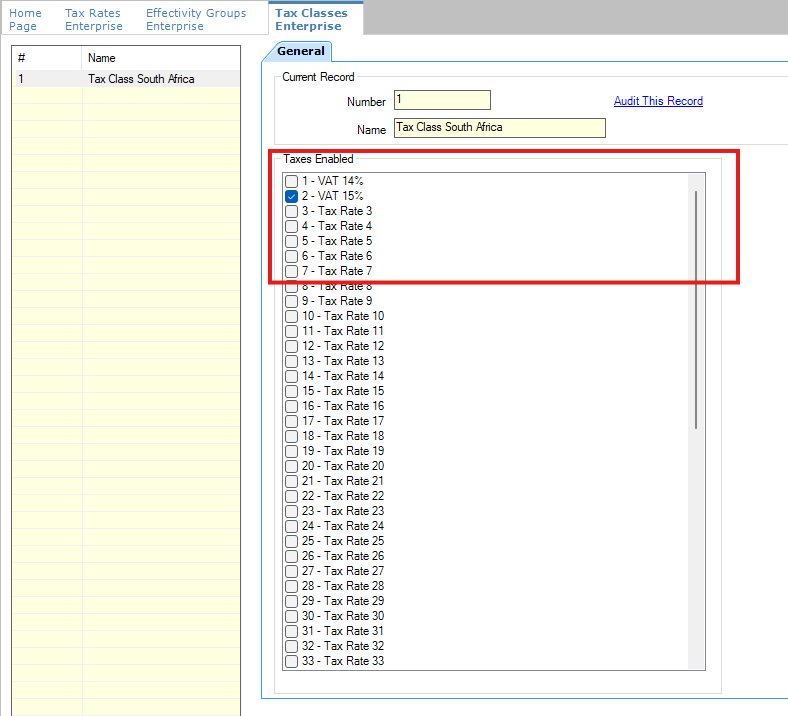
Here you will enable the newly created tax rate
*make sure the current one is still enabled*

Click save
All areas where the VAT is linked
The tax rates are linked in multiple areas, the below screen shots are where you can find them. Some do not require activation, however some require an option to be enabled
SERVING PERIODS
The serving periods are configured at the RVC level, expand the enterprise then expand the property and select the RVC, on the right you will select the configuration tab then select serving periods
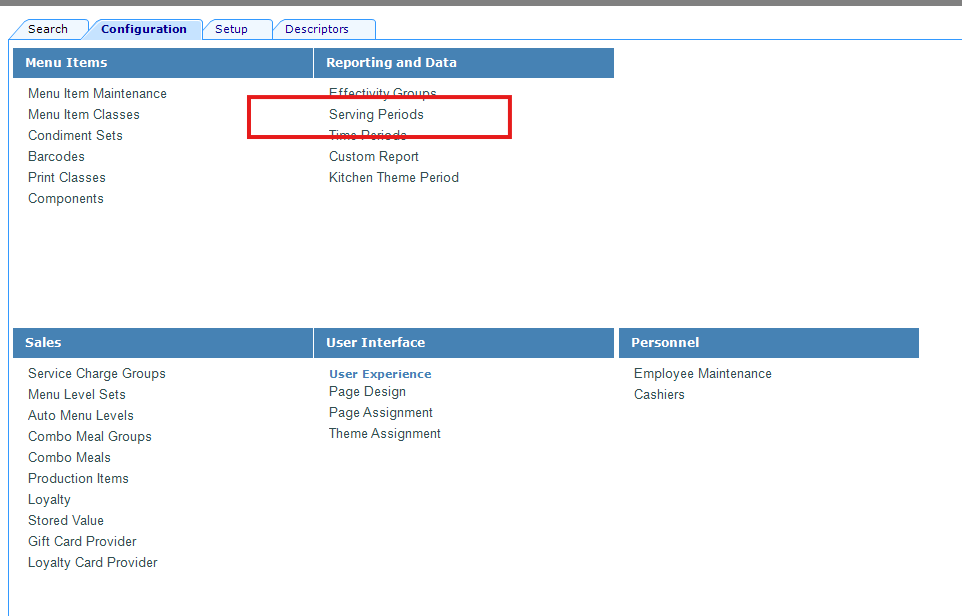
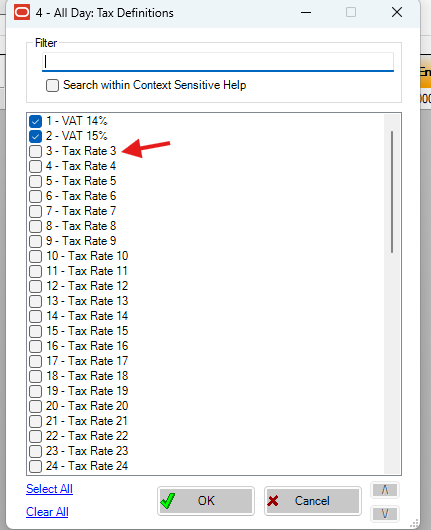
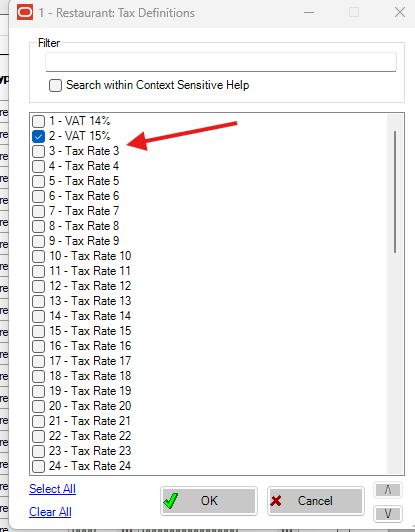
On the serving period you need to enable the new tax b y pressing the […] in the column then enable the new rate

Once enabled click on ok then click save
This will need to be done for EACH RVC and EACH SERVING PERIOD
At the Enterprise level select Order type Parameters – this can be found under the Setup tab
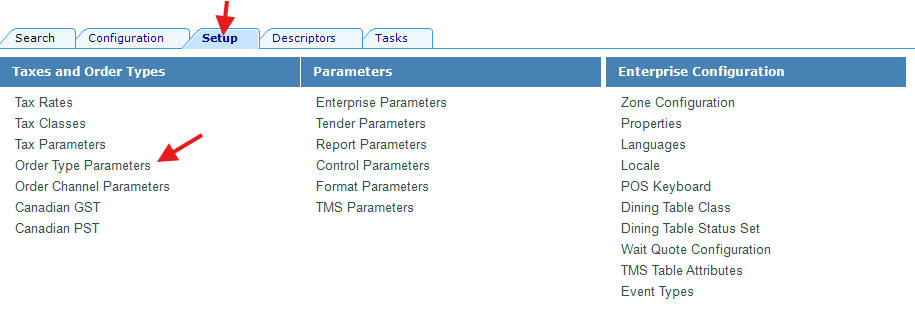
Here you can enable the new tax under the Tax mask column by pressing the […]
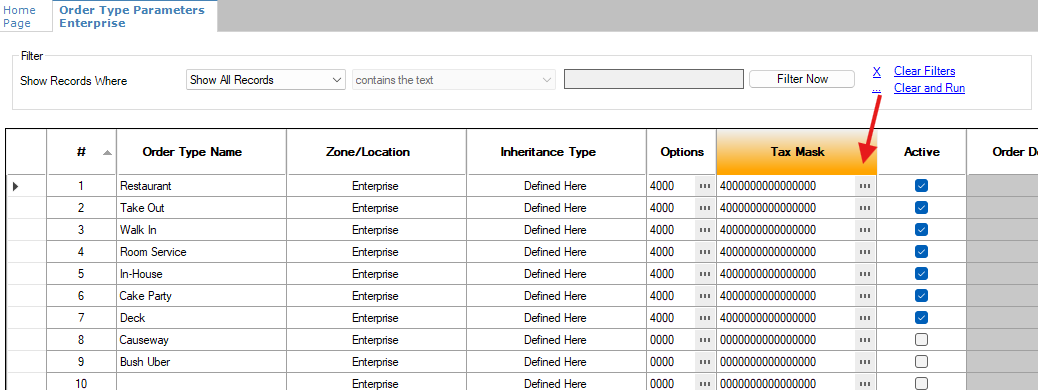
Enable the new tax rate and click ok.
In menu item classes you can see the tax class assigned
No changes needed here.

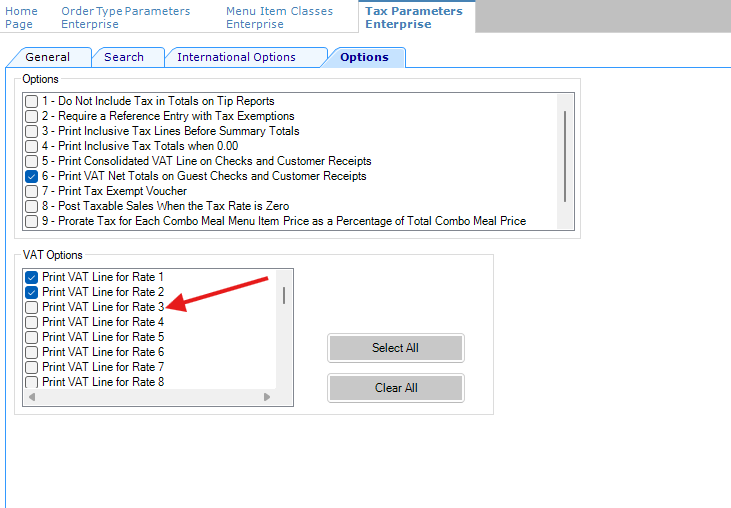
In Tax Parameters (found at enterprise level under setup)
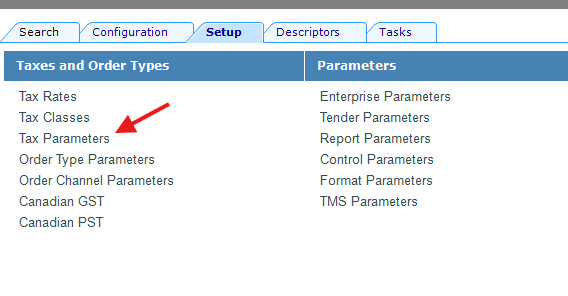
Click on options then enable Print VAT Line 3 <- this is dependent on where you added the new tax rate then click on Save
Under the Discounts

No changes needed here
Under Service Charges
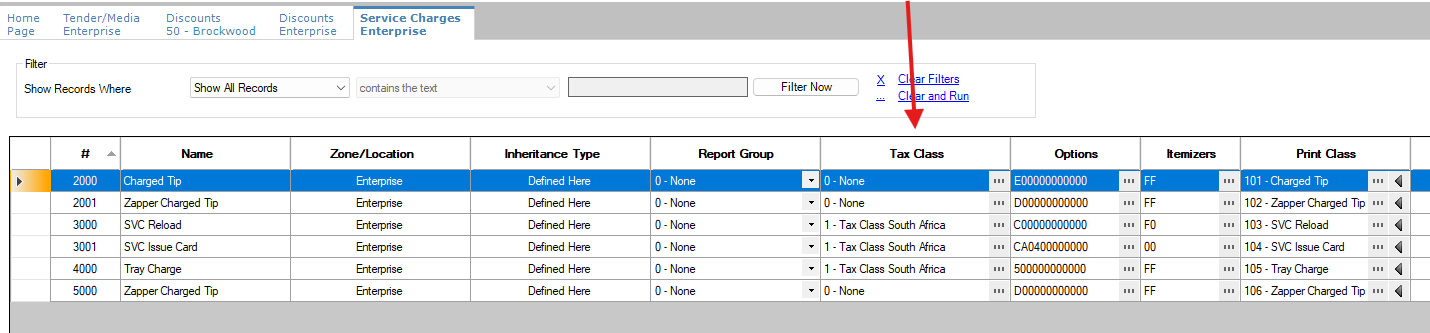
No Changes needed
This lesson is not ready to be taken.